
Good food, a welcoming home, and old-fashioned ways to make the most of what you have.
Grandma’s Old-Fashioned Apple Pie
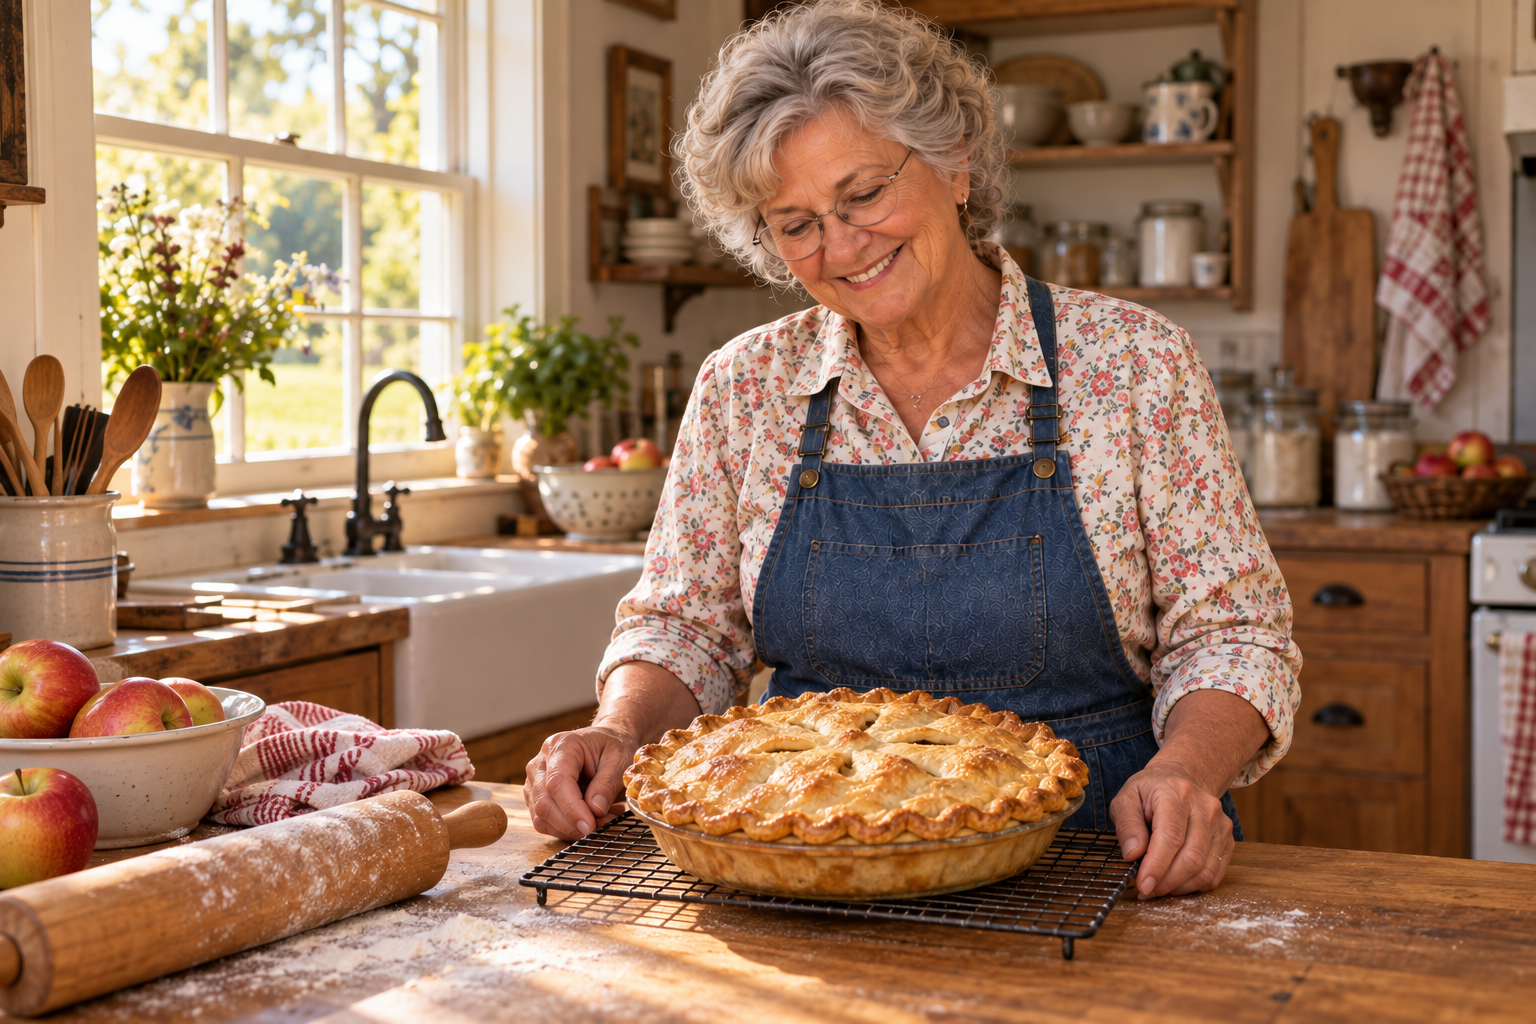
A buttery double crust, tender apple slices, and just enough cinnamon to make the kitchen smell like something good is coming. Pull up a chair—we’re making a pie worth sharing.
Allow: about 45 minutes of hands-on work, 1 hour to chill the dough, 60–75 minutes to bake, and at least 3 hours to cool.
Start with good apples
Use half Honeycrisp and half Granny Smith for a sweet-and-tart filling. Honeycrisp brings sweetness and a pleasant bite; Granny Smith adds tartness. Use firm, fresh apples and slice them evenly so they soften together. Pink Lady is another good choice. Measure the apples after peeling and coring.
What you’ll need
For the double crust
- 2½ cups all-purpose flour (300 g), plus a little for rolling
- 1 teaspoon salt
- 1 tablespoon granulated sugar
- 1 cup cold unsalted butter (226 g), cut into small cubes
- 6–8 tablespoons ice water, added a little at a time
Short on time? Use enough prepared pie pastry for a 9-inch double-crust pie.
For the filling
- 8 cups peeled, cored apples sliced about ¼ inch thick (about 3 pounds whole apples, depending on size)
- ½ cup granulated sugar
- ¼ cup packed light brown sugar
- ¼ cup all-purpose flour
- 1½ teaspoons ground cinnamon
- ¼ teaspoon ground nutmeg
- ¼ teaspoon salt
- 1 tablespoon lemon juice
- 2 tablespoons unsalted butter, cut into small pieces
For the top
- 1 egg beaten with 1 tablespoon water
- 1 teaspoon granulated sugar, optional
Let’s make the pie
- Make the pastry. Stir together the flour, salt, and sugar. Cut in the cold butter with a pastry blender or two knives until you have coarse crumbs with some pea-sized butter pieces. Sprinkle in 6 tablespoons ice water and toss gently with a fork. Add more water a teaspoon at a time only until a squeezed handful holds together. Divide into two disks, wrap, and refrigerate for at least 1 hour.
- Get the oven ready. Heat to 425°F. Place a rack in the lower third. Use a 9-inch metal pie pan and a rimmed baking sheet to catch drips.
- Mix the filling. Toss the sliced apples with lemon juice. In a separate bowl, mix both sugars, flour, cinnamon, nutmeg, and salt; toss thoroughly with the apples.
- Fill the bottom crust. Roll one dough disk on a lightly floured counter into a roughly 12-inch circle. Ease it into the pan without stretching. Arrange the apples snugly inside, mounding them a little in the center. Add any juices from the bowl and dot with the 2 tablespoons butter.
- Put on the lid. Roll out the second disk and lay it over the apples. Trim to about 1 inch beyond the rim, fold the edges together, and crimp to seal. Cut several steam vents. Brush lightly with egg wash and sprinkle with the optional sugar. If the pastry has become soft, chill the assembled pie for 15 minutes before baking.
- Bake until truly done. Set the pie on the baking sheet. Bake at 425°F for 20 minutes, then reduce to 375°F and bake another 40–55 minutes. The crust should be deeply golden, the filling bubbling through the center vents, and a thin knife inserted through a vent should meet tender apples. If needed, keep baking in 5–10 minute increments; loosely cover the edges or top with foil if they brown too quickly.
- Give it time to settle. Cool on a rack for at least 3 hours before slicing. The filling thickens as it cools. Serve plain, or with a scoop of vanilla ice cream.
A little kitchen wisdom
Keep the butter cold, handle the dough gently, and let the apples tell you when the pie is done. A brown crust alone doesn’t mean the filling has cooked. And tempting as that first slice may be, patience gives you a pie that holds together on the plate.
For leftovers, cover and refrigerate once cooled; enjoy within 4 days. Warm individual slices gently before serving.
From the orchard to the kitchen
Thinking about growing your own baking apples? See our Honeycrisp apple tree. This is a living tree, not a box of apples. Plan for a compatible apple variety flowering at the same time nearby for cross-pollination; two Honeycrisp trees alone won’t provide a different variety. Check local growing conditions and rootstock before choosing a tree.
Apple selection: King Arthur Baking. Pollination guidance: University of Maryland Extension.
Share Grandma’s recipe
Grandma’s Climbing Roses: Planting and Caring for a Rose on a Trellis
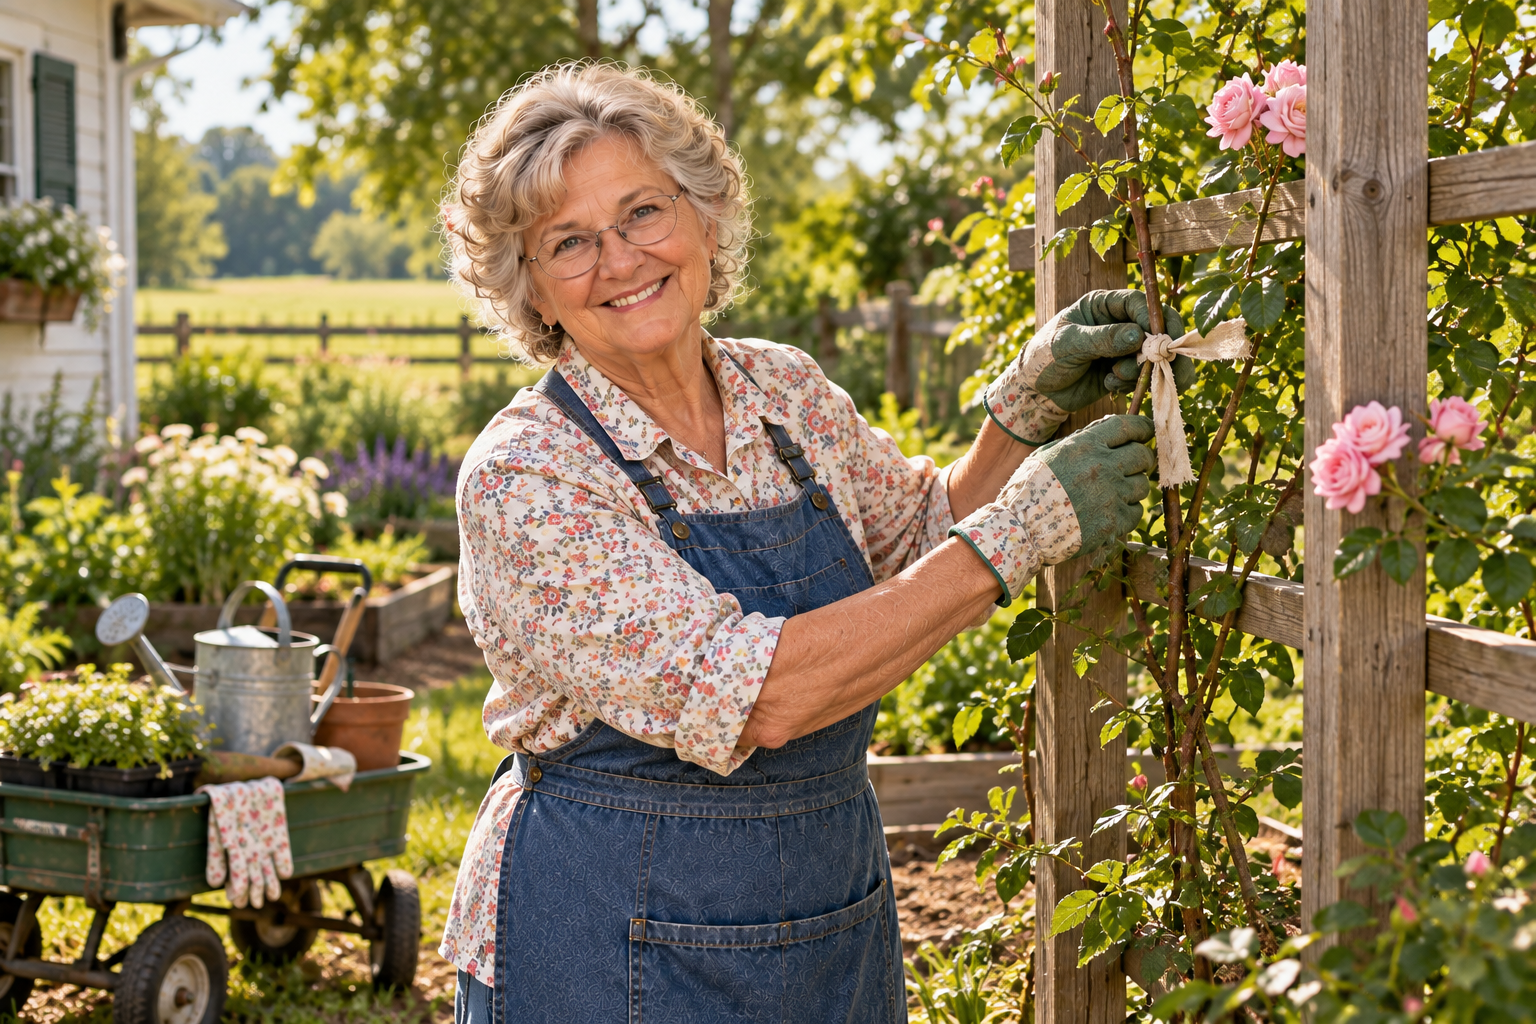
Come walk out to the garden with me. A rose-covered arch makes an ordinary path feel like an invitation. But before I picture the flowers overhead, I think about the roots below and the support that will hold everything up. Let’s give that rose a good beginning.
Start with the rose and the room it needs
For this guide, I’m featuring our Peggy Martin Climbing Rose. Its pink spring flowers are the attraction, and its vigorous growth means we need to plan ahead: canes can reach 15 feet or more. Established plants may flower again in fall; I wouldn’t promise an uninterrupted summer of blooms. Give it at least six hours of sun and well-drained soil. Louisiana Nursery’s Peggy Martin guide explains its growth and flowering habits.
I check the variety’s suitability for my local climate before planting. I also leave room to walk, prune, and reach the ties. A little plant in a nursery pot won’t always stay little.
Put the trellis in first
I install and anchor the support before digging beside it. That saves disturbing new roots later. Choose a substantial trellis, fence, or arbor intended for the weight of a mature climbing rose and your local wind conditions. A decorative arch’s appearance alone doesn’t establish its load capacity.
Climbing roses need help attaching. Leave room for air circulation and for your hands to reach behind the canes. With an arch, keep the entrance clear as you arrange the growth. If a support’s strength or anchoring instructions are unclear, check with its maker before using it for Peggy Martin.
What I gather before we start
I bring a full-size shovel for the planting hole, a hand trowel for small jobs, bypass pruners, gloves, soft plant ties, mulch, and a hose or watering can. A wheelbarrow or garden wagon saves trips when moving the rose and bagged supplies. Our shop has a folding garden wagon for that hauling work. Keep the load within the maker’s instructions.
For working around the bed, see our six-piece hand-tool set and bypass pruning shears. The little hand tools are useful for tending the bed; use the full-size shovel for the rose’s planting hole.
How I plant a potted climbing rose
- Check the planting spot. I avoid places where water sits after rain. Improve drainage across the planting area instead of making a rich little pocket in soggy ground.
- Water the pot and prepare a wide hole. Make the hole about twice the root ball’s width. For an own-root container rose, keep the top of the root ball level with the surrounding soil. A grafted rose may need a different planting depth in a cold climate; follow its nursery instructions and local Extension advice.
- Slip it out gently. Support the root ball rather than pulling on the stems. Gently loosen circling outer roots, settle the plant, and backfill with the excavated soil.
- Water slowly and mulch. Soak the root zone, let it settle, and check the soil level. Spread a modest layer of organic mulch around the plant, leaving space around the stems.
General planting and watering guidance: Oregon State University Extension. Its cold-climate graft-depth recommendations should be adapted to your location and plant.

Train the canes gently
I spread the long main canes into a fan, guiding flexible growth diagonally or as nearly horizontal as the support allows. That encourages flowering side shoots along the framework. Use soft, loose ties and check them as stems thicken. Bend gradually; a stiff cane can snap if forced around a tight curve.
Water, feed, and keep an eye on it
I feel the soil near the root ball before watering. Water deeply at the base when it begins to dry, adjusting for rain, heat, and drainage. A newly planted rose needs closer attention than an established one. Keeping foliage dry helps reduce disease problems.
For feeding, I follow a soil test and the fertilizer label, rather than guessing that more must be better. Avoid late-season feeding that encourages tender growth before cold weather. If leaves yellow or develop spots, check moisture and identify the cause before reaching for a treatment.
Prune with a purpose
I keep the healthy main canes that form the climbing framework. Remove dead, damaged, or diseased growth with sharp, clean bypass pruners. For Peggy Martin, do light shaping after its main spring flowering instead of cutting it down like a bush rose. Clean tools between plants and wear gloves, even with a rose described as nearly thornless.
Training and tool guidance: Oregon State University Extension’s climbing-rose pruning instructions. Peggy Martin timing: Louisiana Nursery.
Share Grandma’s Wisdom With Someone You Love!
Good advice is meant to be shared! If you enjoyed Grandma’s gardening tips, recipes, and timeless wisdom, share this article with your family and friends. Together, let’s keep Grandma’s wisdom growing for generations to come!